Have you ever received a price quote for a product or service and wondered why it cost that much? If you’re like most people, the next step—and rightfully so—is to get a few comparison quotes. Surely the first one must have been a mistake! But after a few comparisons (assuming it’s apples to apples), you arrive at roughly the same number. In the end, you’re left scratching your head as to how they got to that number.
As a print estimator, I’m often asked “How can I reduce my printing costs?” and the answer varies because each print project is unique. However, there are some basics that apply to all.
That’s why we’re pulling back the curtain to help you understand what’s behind the number in your print quote. You’ll see that the process includes a lot more than putting ink on paper—and the more you know the better. By understanding these print quote basics, you get more bang for your buck and avoid project fees or delays.
Here are 10 areas that contribute to print costs and tips to help keep your budget in check.
- It’s Not All About Paper (But it’s a Good Place to Start!)
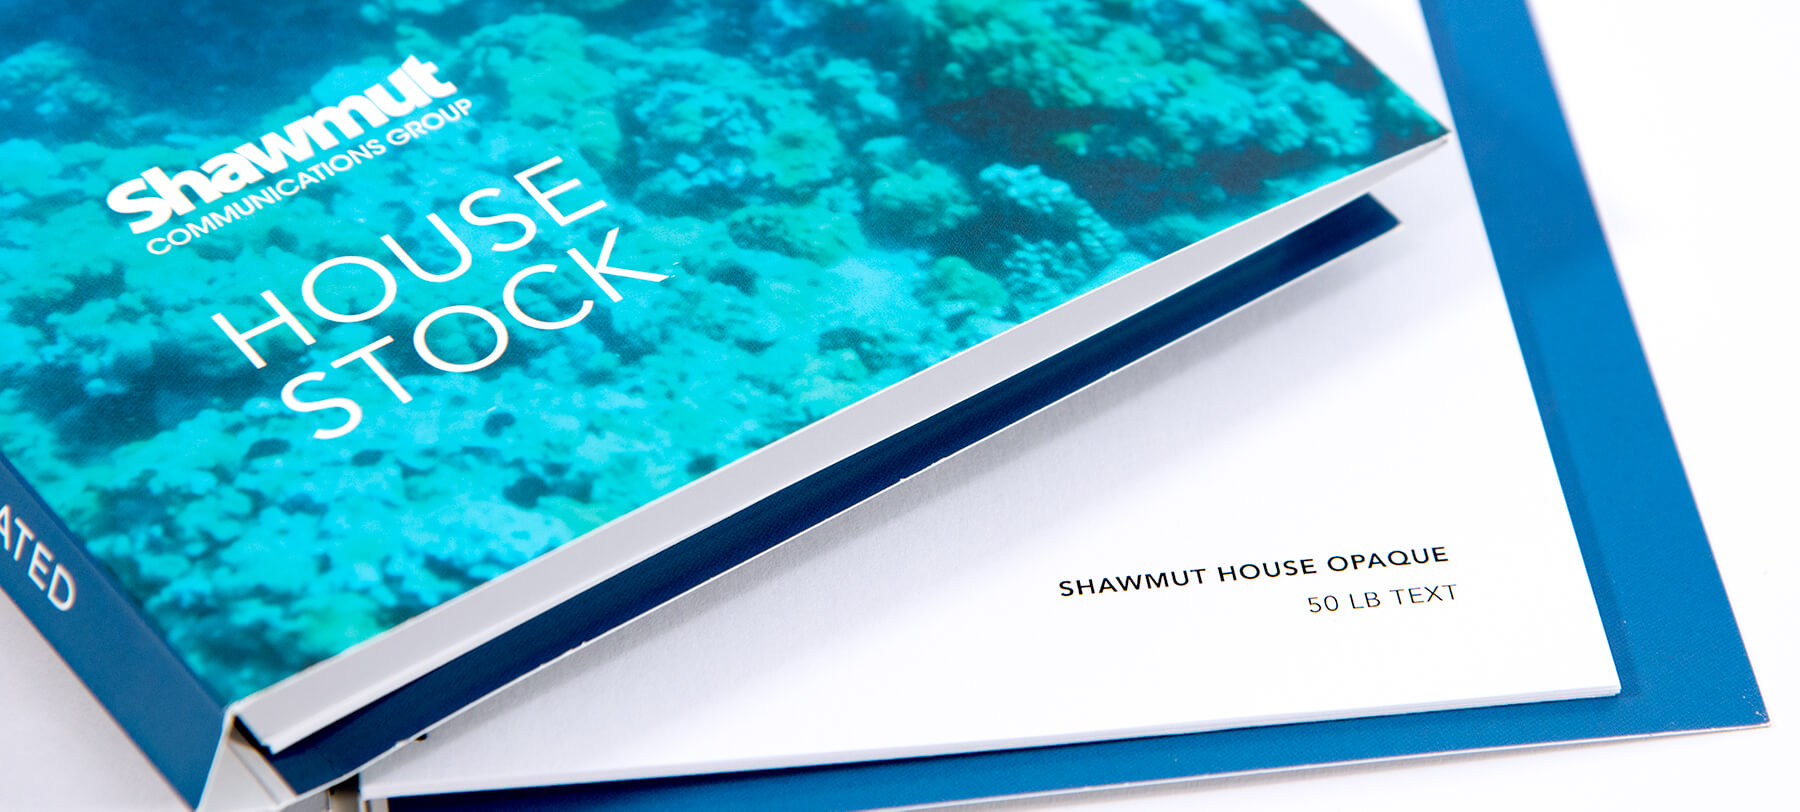 Our Shawmut House Stock book is a great resource for selecting an economy-grade sheet.
When it comes to print costs, paper is the most obvious contributor to cost. In fact, paper can account for 25–60% of the project, depending on what you select. It’s also important to keep in mind that paper costs include room for spoilage which happens throughout the manufacturing process. The more processes involved, the more spoilage will be required.
Tip: Consider the overall goal, audience, and delivery method of a project prior to making your paper choice. For example, if your print project aims to communicate a short-term promotion or an inexpensive product, you may want to consider an “economy grade” sheet. While they may not yield the same level of ink lay-down as premium sheets, your audience may not notice the difference, especially if your piece has a short shelf-life. By choosing a cost-effective sheet, you’ll save money on paper and the cost savings can be applied to other areas such as finishing or coating techniques.
- Properly Prepare Your Files for Print
Every print quote includes time to run your project through prepress. During this stage, printers prepare your digital files for the production process and look for any discrepancies between the quoted specs and the digital files. If your files aren’t properly prepared, you can burn through time and money quickly.
Tip: Double check your files and make sure you have included fonts, links, bleeds, and layers for variable text, dielines, varnish plates, etc. Make sure the final design matches the criteria given to the printer to avoid lost production time and changes in cost. In addition, it’s helpful to include a reference PDF with your files to illustrate how you intend the design to look.
- Share Your Preliminary Design Early
The best part of having a vendor you trust is the ability to “run it by them.” Print projects run smoother when designers share concepts with their printer before they submit files. This is particularly true for complex projects or those with a lot of intricate detail.
Questions like these should be answered before you spend countless hours designing—and your print vendor should be able to help:
- “Should I use process build or spot colors?”
- “Can I achieve a dark solid without compromising the photos around it?”
- “Does this die-cut work?”
Tip: If you are considering multiple formats, request a stock dummy of the hardest and easiest designs. Getting feedback early on from your vendor can save you lots of time and headaches down the road.
- Proof Wisely
Proofs can be created digitally or sent as a hard copy, depending on your preferences. While it’s important to note that hard copy proofs will be more expensive, they are a must if color accuracy is critical to your work.
Before proofs are created, make sure you’ve addressed any last minute changes. Unfortunately, mistakes caught at this stage can lead to unexpected costs and project delays (additional prepress time, new proofs, and rush shipping, etc.). Think of your proof as a final opportunity to review artwork before production and not as a step in your editing or approval process.
Tip: If you need to make edits or corrections to a proof, you are better off allowing the print vendor to make the edits (assuming they are fairly minor or moderate in nature). It is a misconception that “providing a new file” is a safer and more economical option. Providing a new file requires the printer to begin from scratch, costing you time and money.
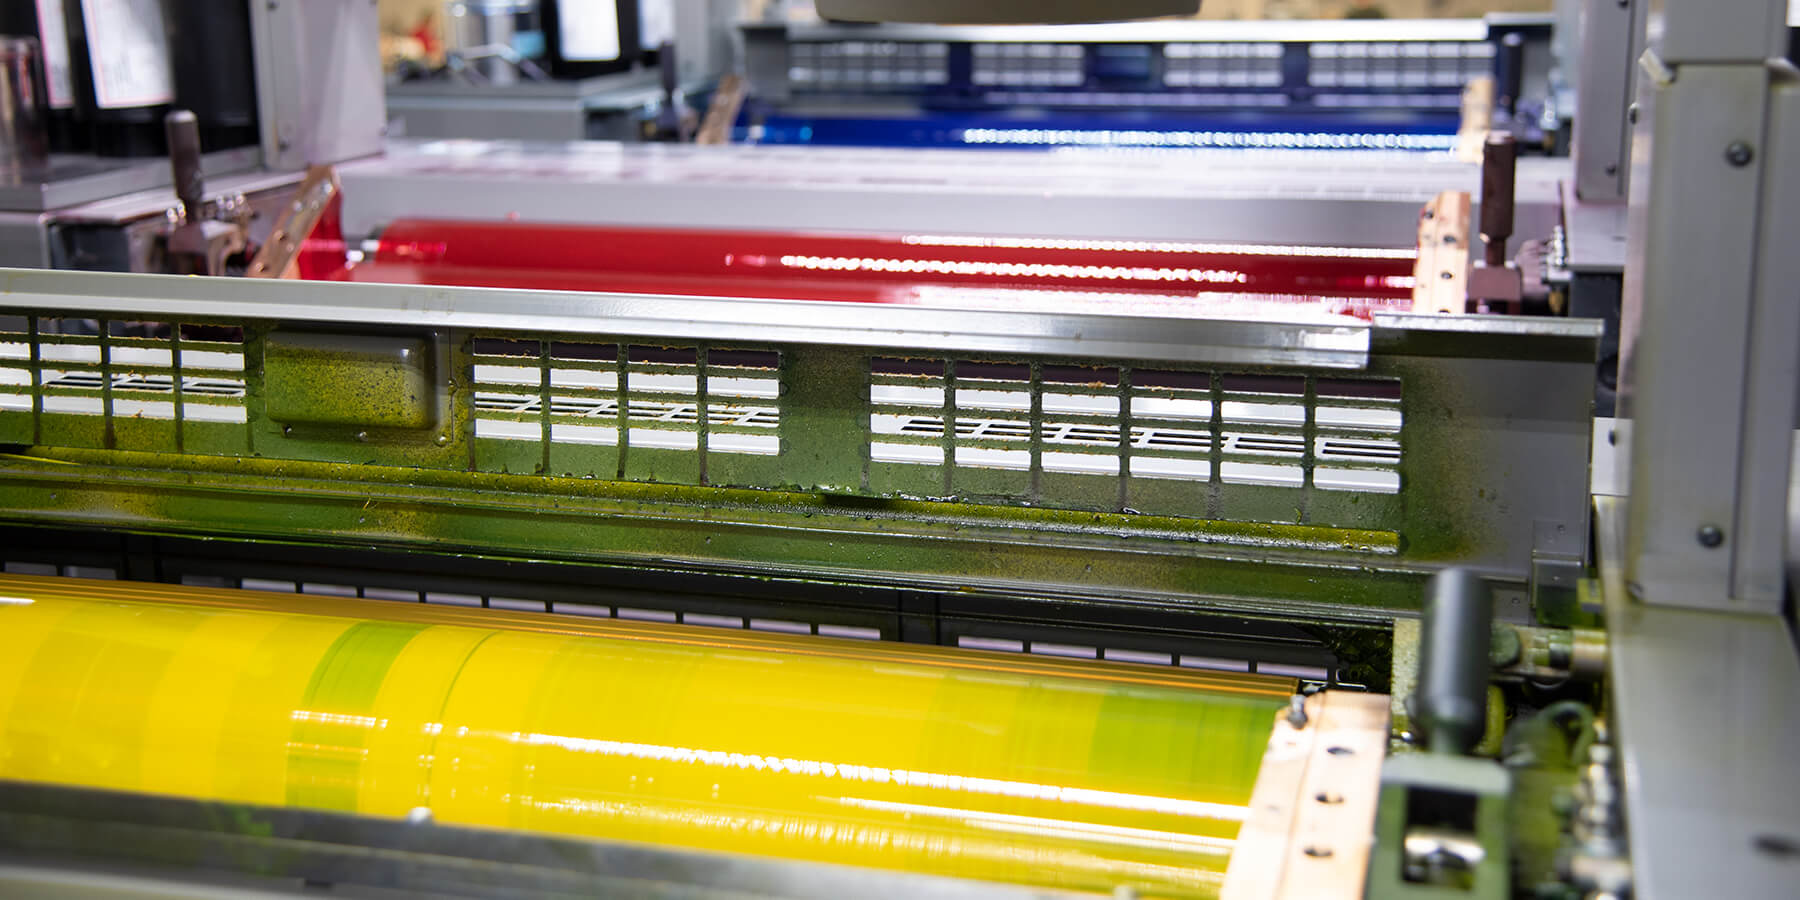
- Minimize Plates and Plate Changes
Once proofs are approved, the prepress team creates printing plates for the offset press. Each color used in your artwork must have a separate plate. For example, if you are printing a 4-color process job and the piece is two-sided, it will require eight plates. In addition, each printing plate can only be used for that specific artwork since the images and text are burned onto the plate.
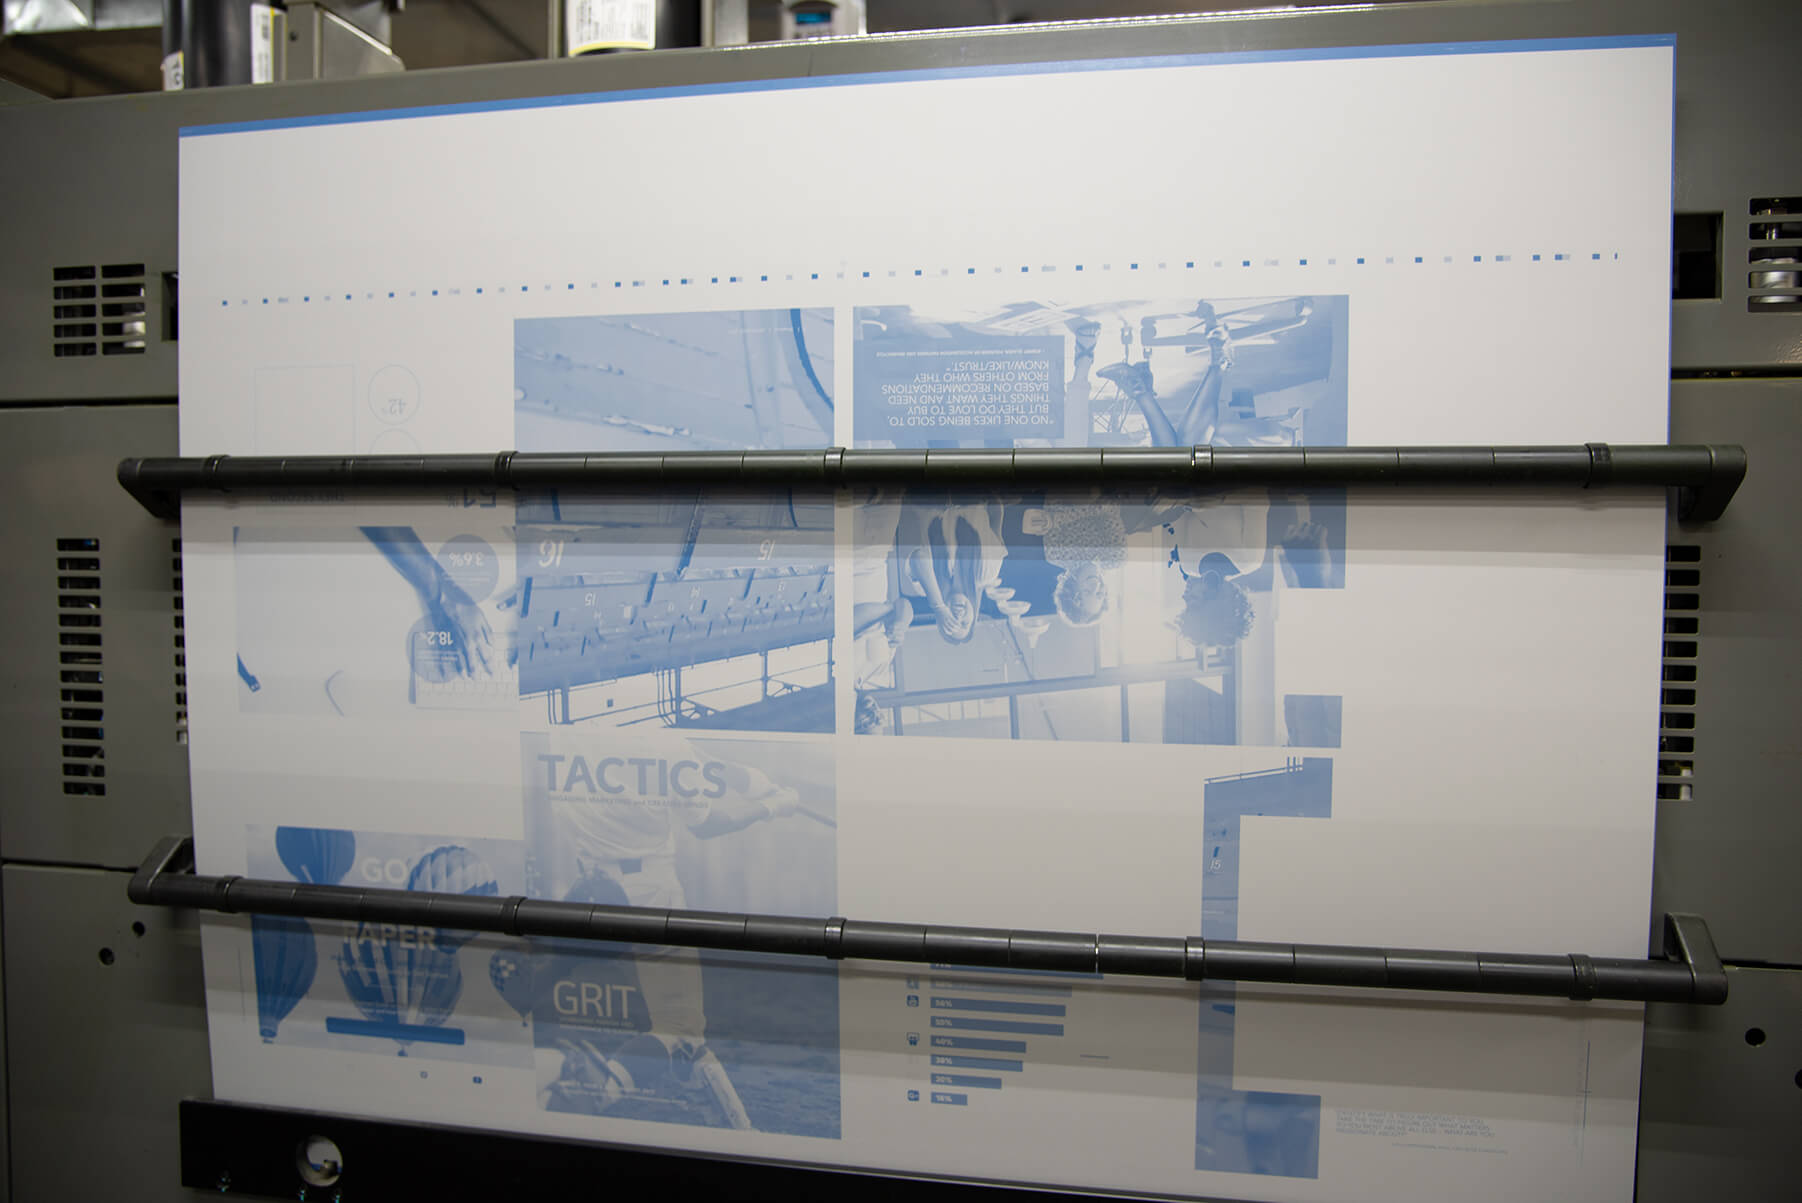 A cyan plate from a past issue of Tactics ready to be fed into the press.
Let’s say you’re creating a poster that has multiple versions with text or image changes. It’s a good idea to work with smaller sizes so you can get multiple versions up on one press sheet—thereby reducing the number of plates or plate changes needed during production. If it’s not possible to get multiple versions up on one sheet, it’s important to be aware that plate changes can add up.
Tip: Check out our blog post on ways to maximize your press sheet to save money and reduce waste.
- Have a Press Check Plan
If you’re a bit of a color fanatic and those flesh-tones must be just right, a press check is what you’ll need. A press check gives you the ability to see and approve your print project during the printing stage. But buyer beware—a lengthy press check can cost you in the end! Making too many changes on press can cause your print run to fall short of the final quantity; remember that paper spoilage we mentioned earlier?
Printers make an educated guess regarding the spoilage needed for each print job, but it is a guess nonetheless. A lengthy press check eats into that spoilage potentially making it difficult to hit your final count.
Tip: Make good use of the proofing stage. If your project is color critical, pay extra attention to that color proof. Ask your print partner about those proofs and any concerns you may have. Don’t assume that making color adjustments on press will be an easy fix because in some cases it can lead you back to square one.
- Maximize Your Press Sheet (and Press Time)
It’s an “8.5 x 11” world… we just live in it! While there are many presses on the market, the vast majority are built around the most standard size of them all, 8.5 x 11 inches.
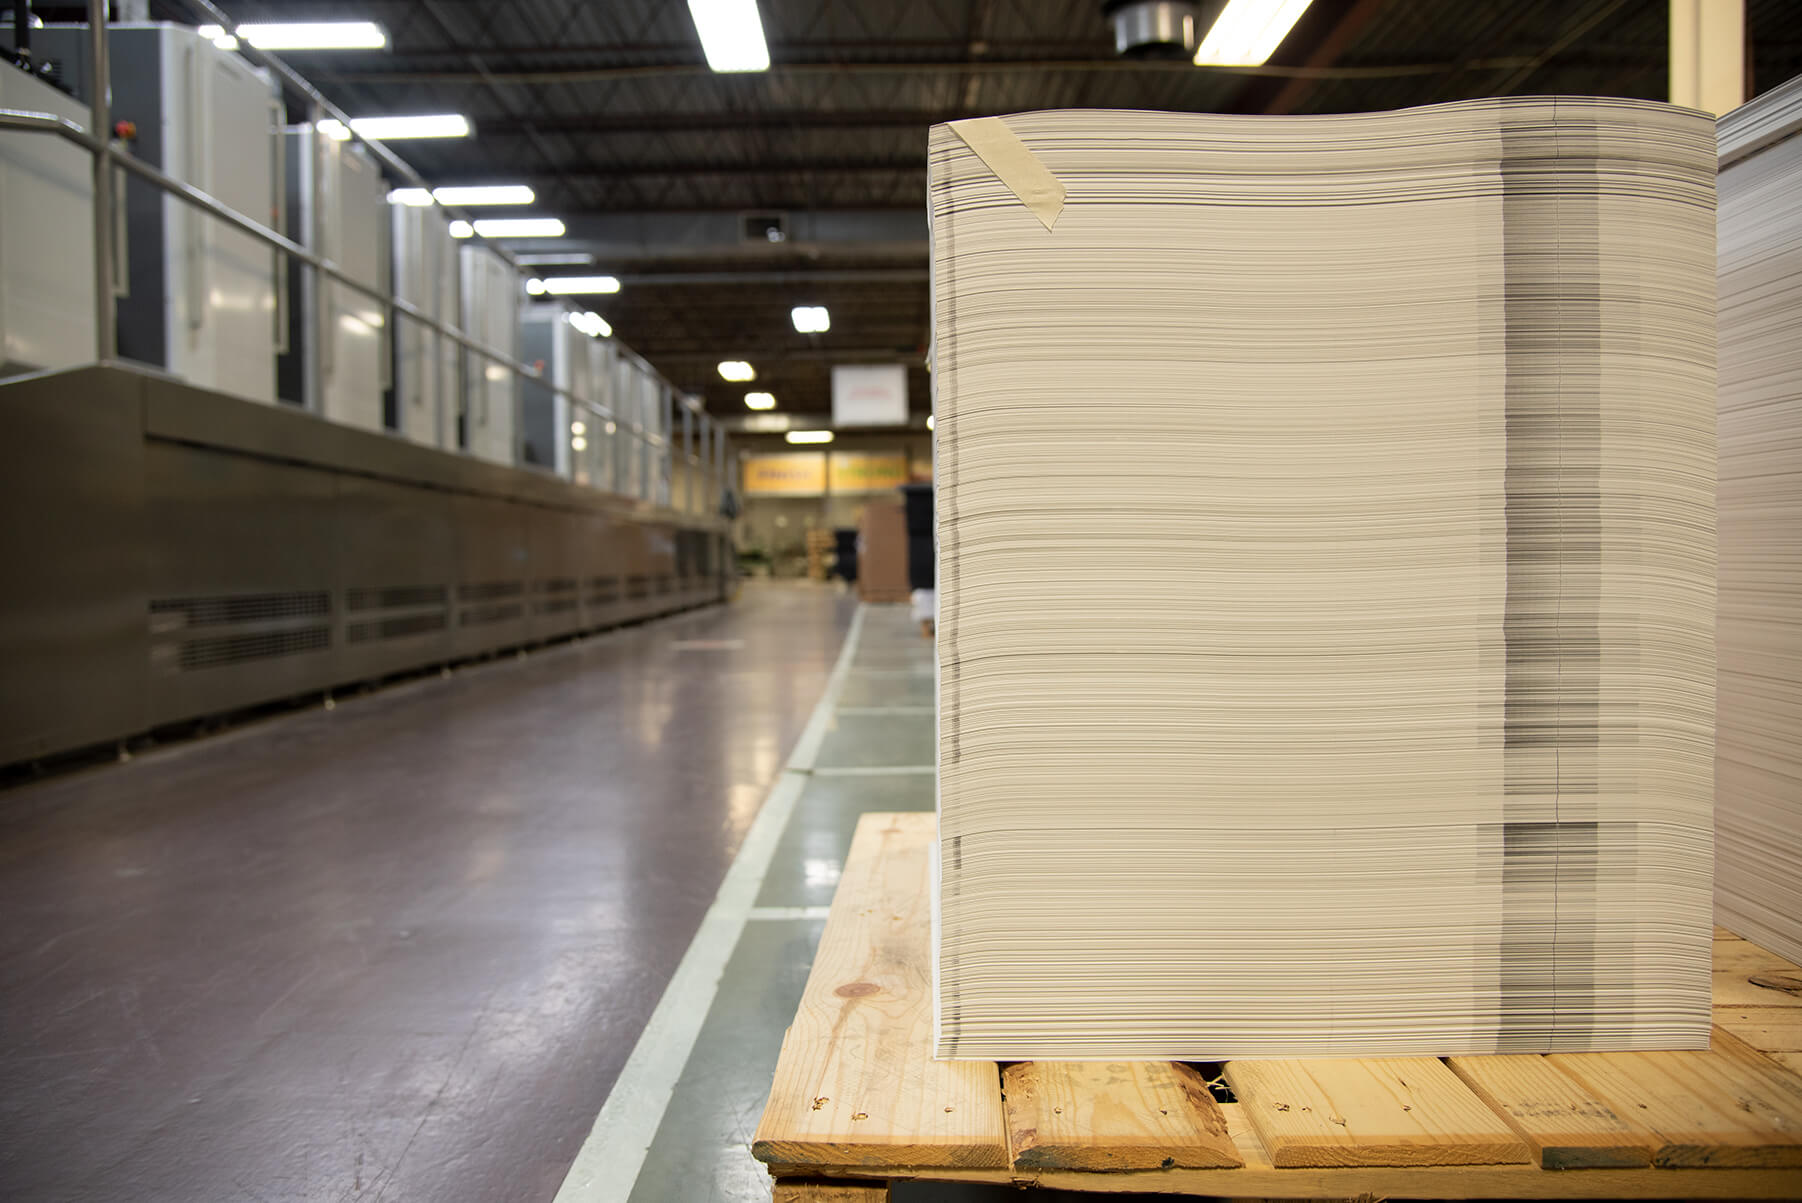 A stack of press sheets ready for finishing.
Of course, that doesn’t mean you’re limited to an 8.5 x 11 inch piece. In fact, a unique size and shape can help your piece stand out. However, if you’re looking for the best bang for the buck, sticking somewhere close to this standard size will ensure you maximize the use of your press sheet.
Tip: If you want a size that is out of the norm, go for it (you can even try a die-cut)! Get a comparison quote for a more standard size so you can see what your funky size is worth. And if a standard size seems too ordinary, consider adding a coating or well-placed varnish technique. These enhancements can go a long way in making your piece feel special for a relatively low cost.
- Remember: Finishing is Part of Printing
Once your project has been printed, it must go through the finishing department where it is transformed from flat sheets to your final printed project. Finishing is a broad area and there are many variables that can contribute to costs including cutting, folding, gluing, coating (which can be done on press too), and more.
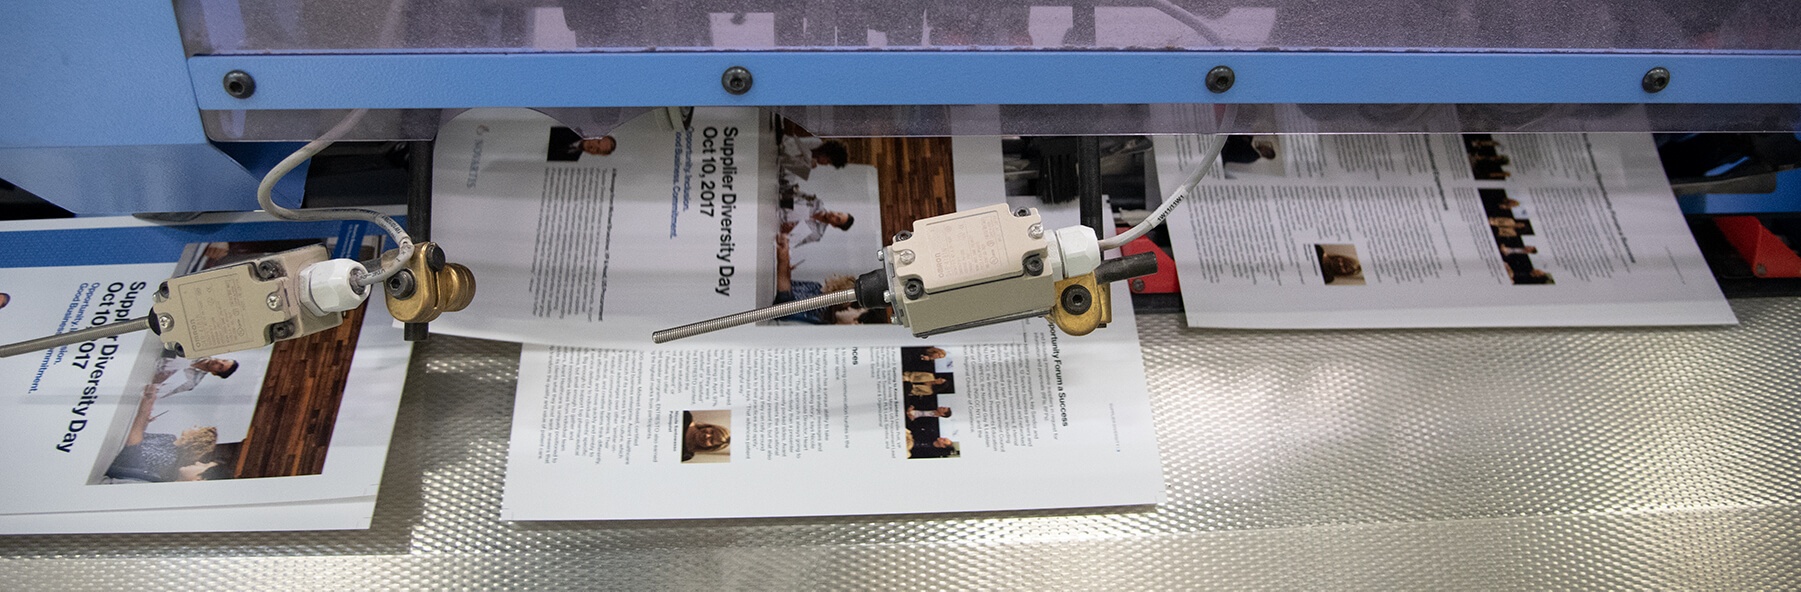 Automated booklet saddle-stitching.
Depending on the final product and quantity, some of these processes may be performed by machine and others by hand. Either way, there are many costs involved which include programming and equipment setup, staff, materials (glue, coatings, labels, etc.), utilities, and more.
Tip: Keep your quantity in mind when considering your finishing technique. For example, hand folding, gluing and mechanical binding functions all are relatively inexpensive when dealing with smaller quantities. Conversely, finishing such as foil stamping and embossing may not be as cost-effective on smaller runs.
- Don’t Forget: Print Products Must Arrive On-Time and Look Great!
Proper packaging and shipping is a must for any print project. After all, a beautifully printed pocket folder or direct mail piece won’t be effective if it looks like it was run over by a truck when it arrives. Your printer may recommend adding additional packaging material or shrink wrapping pieces to protect them from damage in transit. Investigate shipping options or let the printer’s shipping department handle that so you can rest assured that materials will arrive safely and on time.
Tip: Keep your in-hands date in mind during the design stages. It might seem like the least of your worries now but if you wait until the very end, it can end up costing you in expedited shipping charges. Those pesky shipping charges add up quickly!
- Avoid Rush Jobs Whenever Possible
Your timeline can also play a role in driving up print costs. If your job is a rush and the printer needs to reschedule other work to accommodate it, there can be costs associated with that. They may also be paying staff overtime or running additional shifts to meet your needs.
Keep in mind that the more steps involved in your project, the more time is required to complete it. Consider the level of difficulty when gauging that all-important question: “what is my absolute cut-off time to get this order placed?” If it’s a complex project, you can expect to see a rise in cost the shorter the time frame gets.
Tip: Whenever possible, give your vendor a heads up that a possible rush job may be on the horizon. They may have open press slots that you can take advantage of! With any luck, you’re reading this blog before that rush job hits.
This should shed some light on the factors that contribute to your print costs and tips to keep your print budget in check. If you have any questions, just contact us. We’ll be happy to help.