From form and function to creativity and fun, die-cuts serve many purposes. As one of the most versatile finishing processes for offset and digital printing, die-cutting can be used for just about any print project, across every industry. Whether you want to create a custom shape, need a practical format to hold additional material, or anything in between, it can be done with a die-cut.
When we speak to clients about die-cutting, the conversation usually revolves around shapes. With die-cutting, designers can go beyond one-dimensional elements like colors and fonts to create one-of-a-kind pieces that leverage shape to enhance their brand. The end result may include shapes inspired by the brand’s product, logo, or industry, which make materials more recognizable and memorable.
Although shape is often the most intriguing way to use die cutting, it’s certainly not the only type. Here are 3 other types of die-cuts you can use in your next print design project.
Custom Edge Die-Cuts
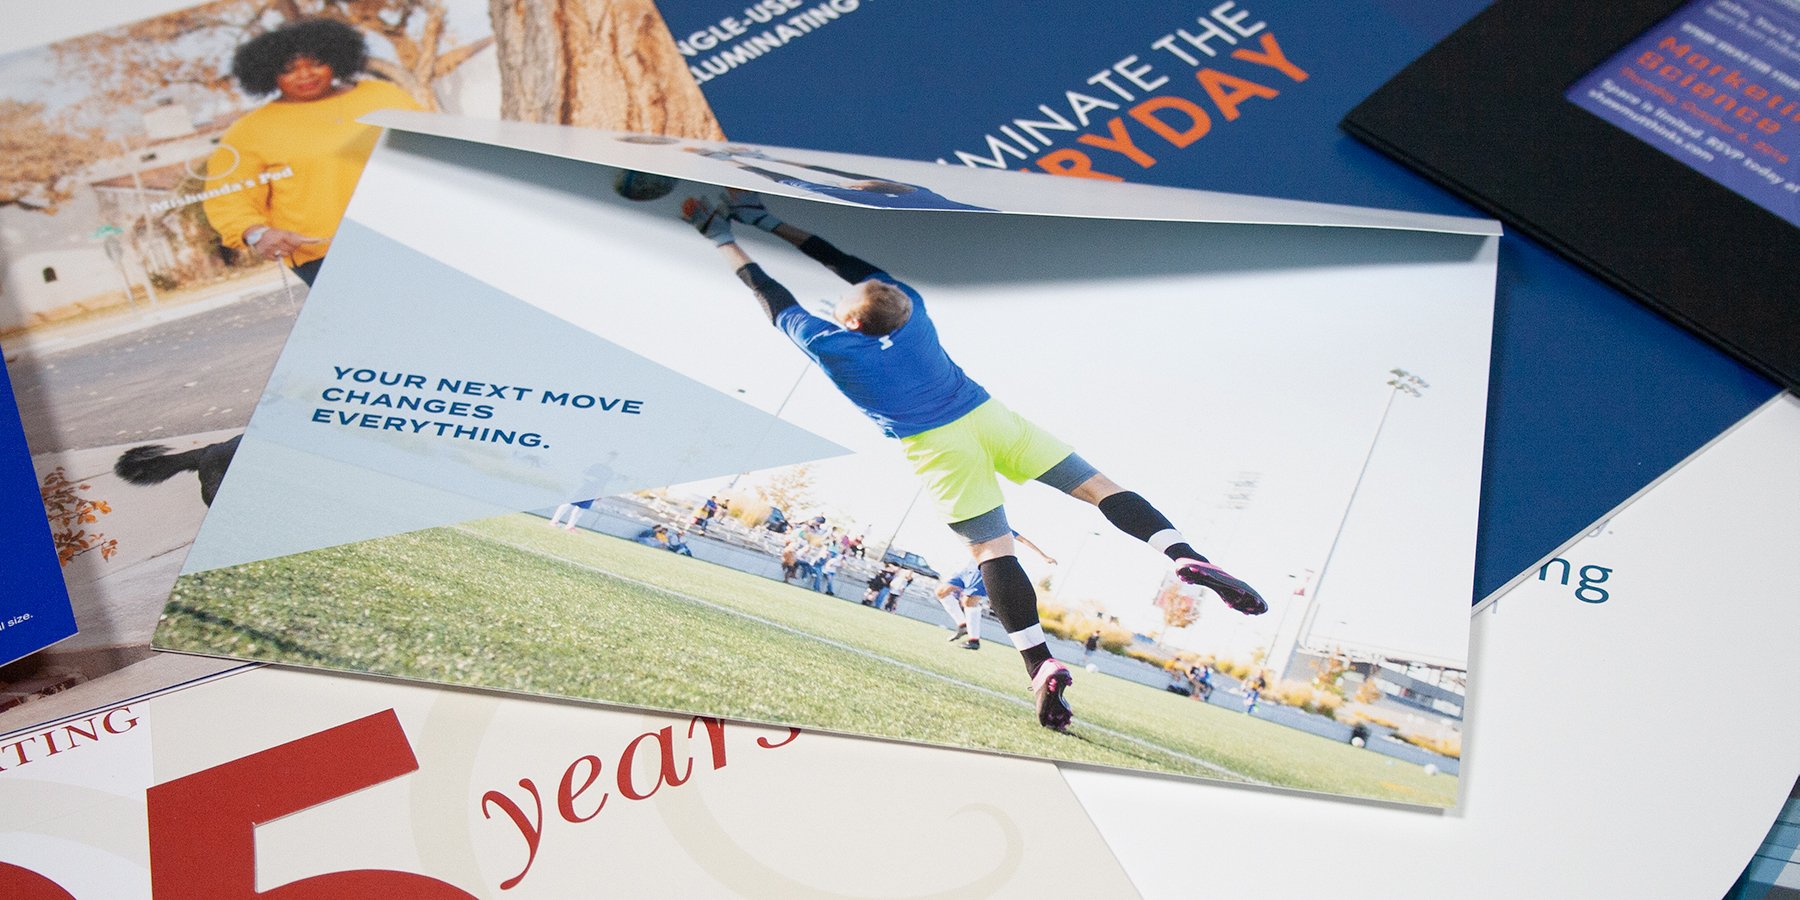
Sometimes, simply changing the edge of printed materials can create a completely unique look. It could be a simple tweak to an edge such as adding round corners to a business card or changing up the pockets on a folder. Looking for something more elaborate? You can also use interesting angles or other formats that seem to hang off the edge of your printed piece.
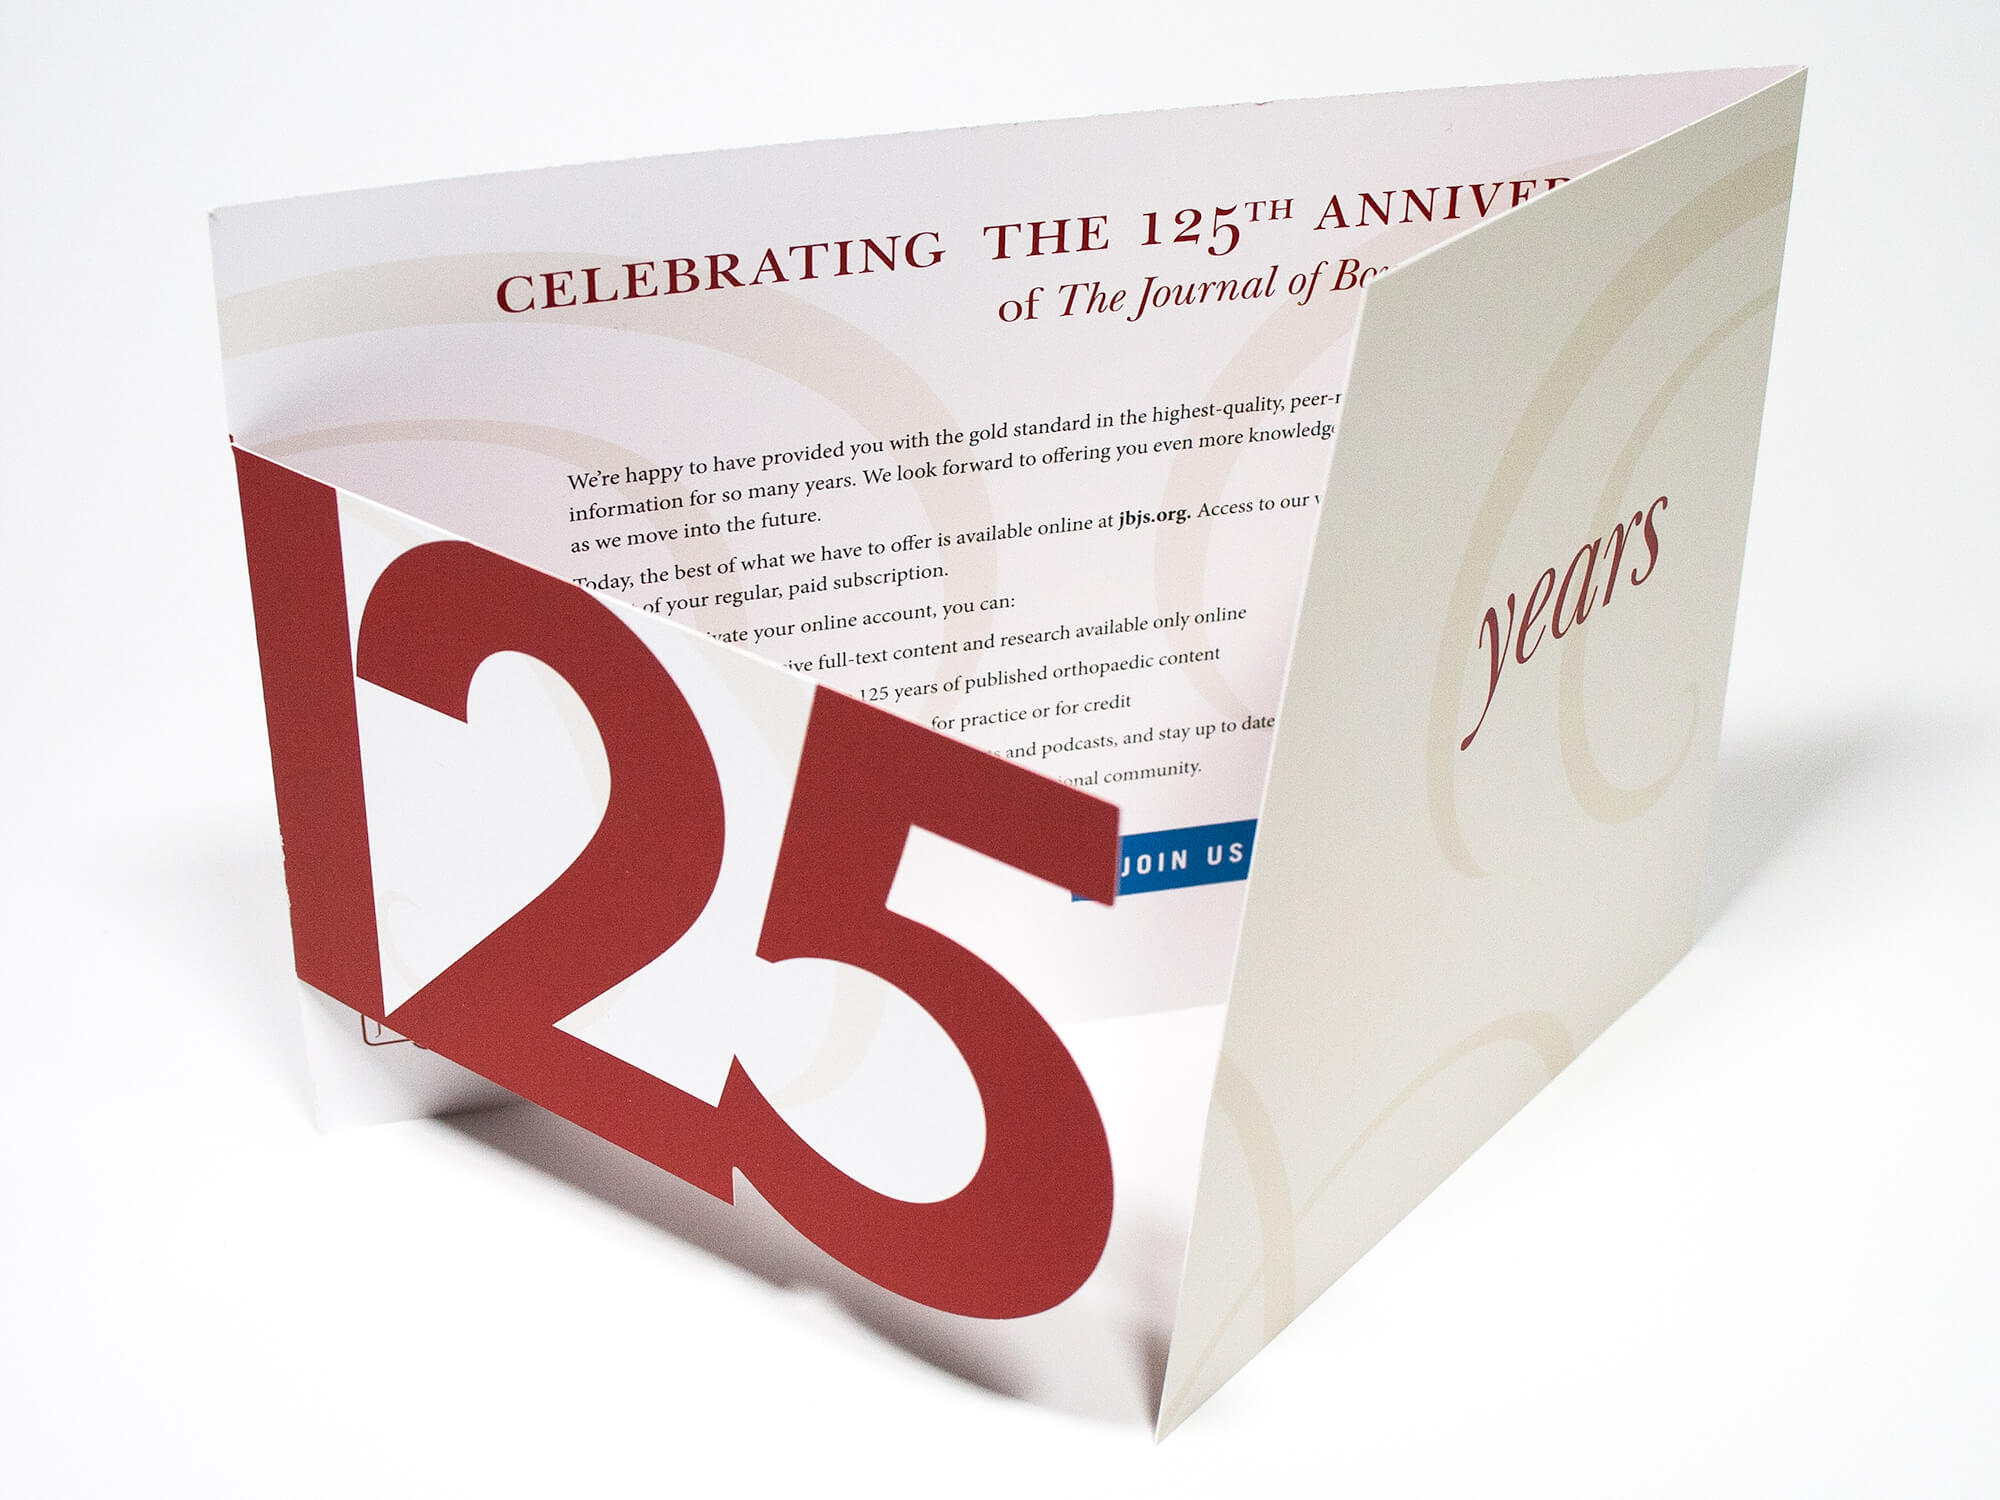
In this example from The Journal of Bone and Joint Surgery, the designer not only die-cut the number 125 for the opening flap, they also created an angle cut for the trailing edge which aligns to the left edge of the number five on the front panel. This is a subtle but nice treat for the eye.
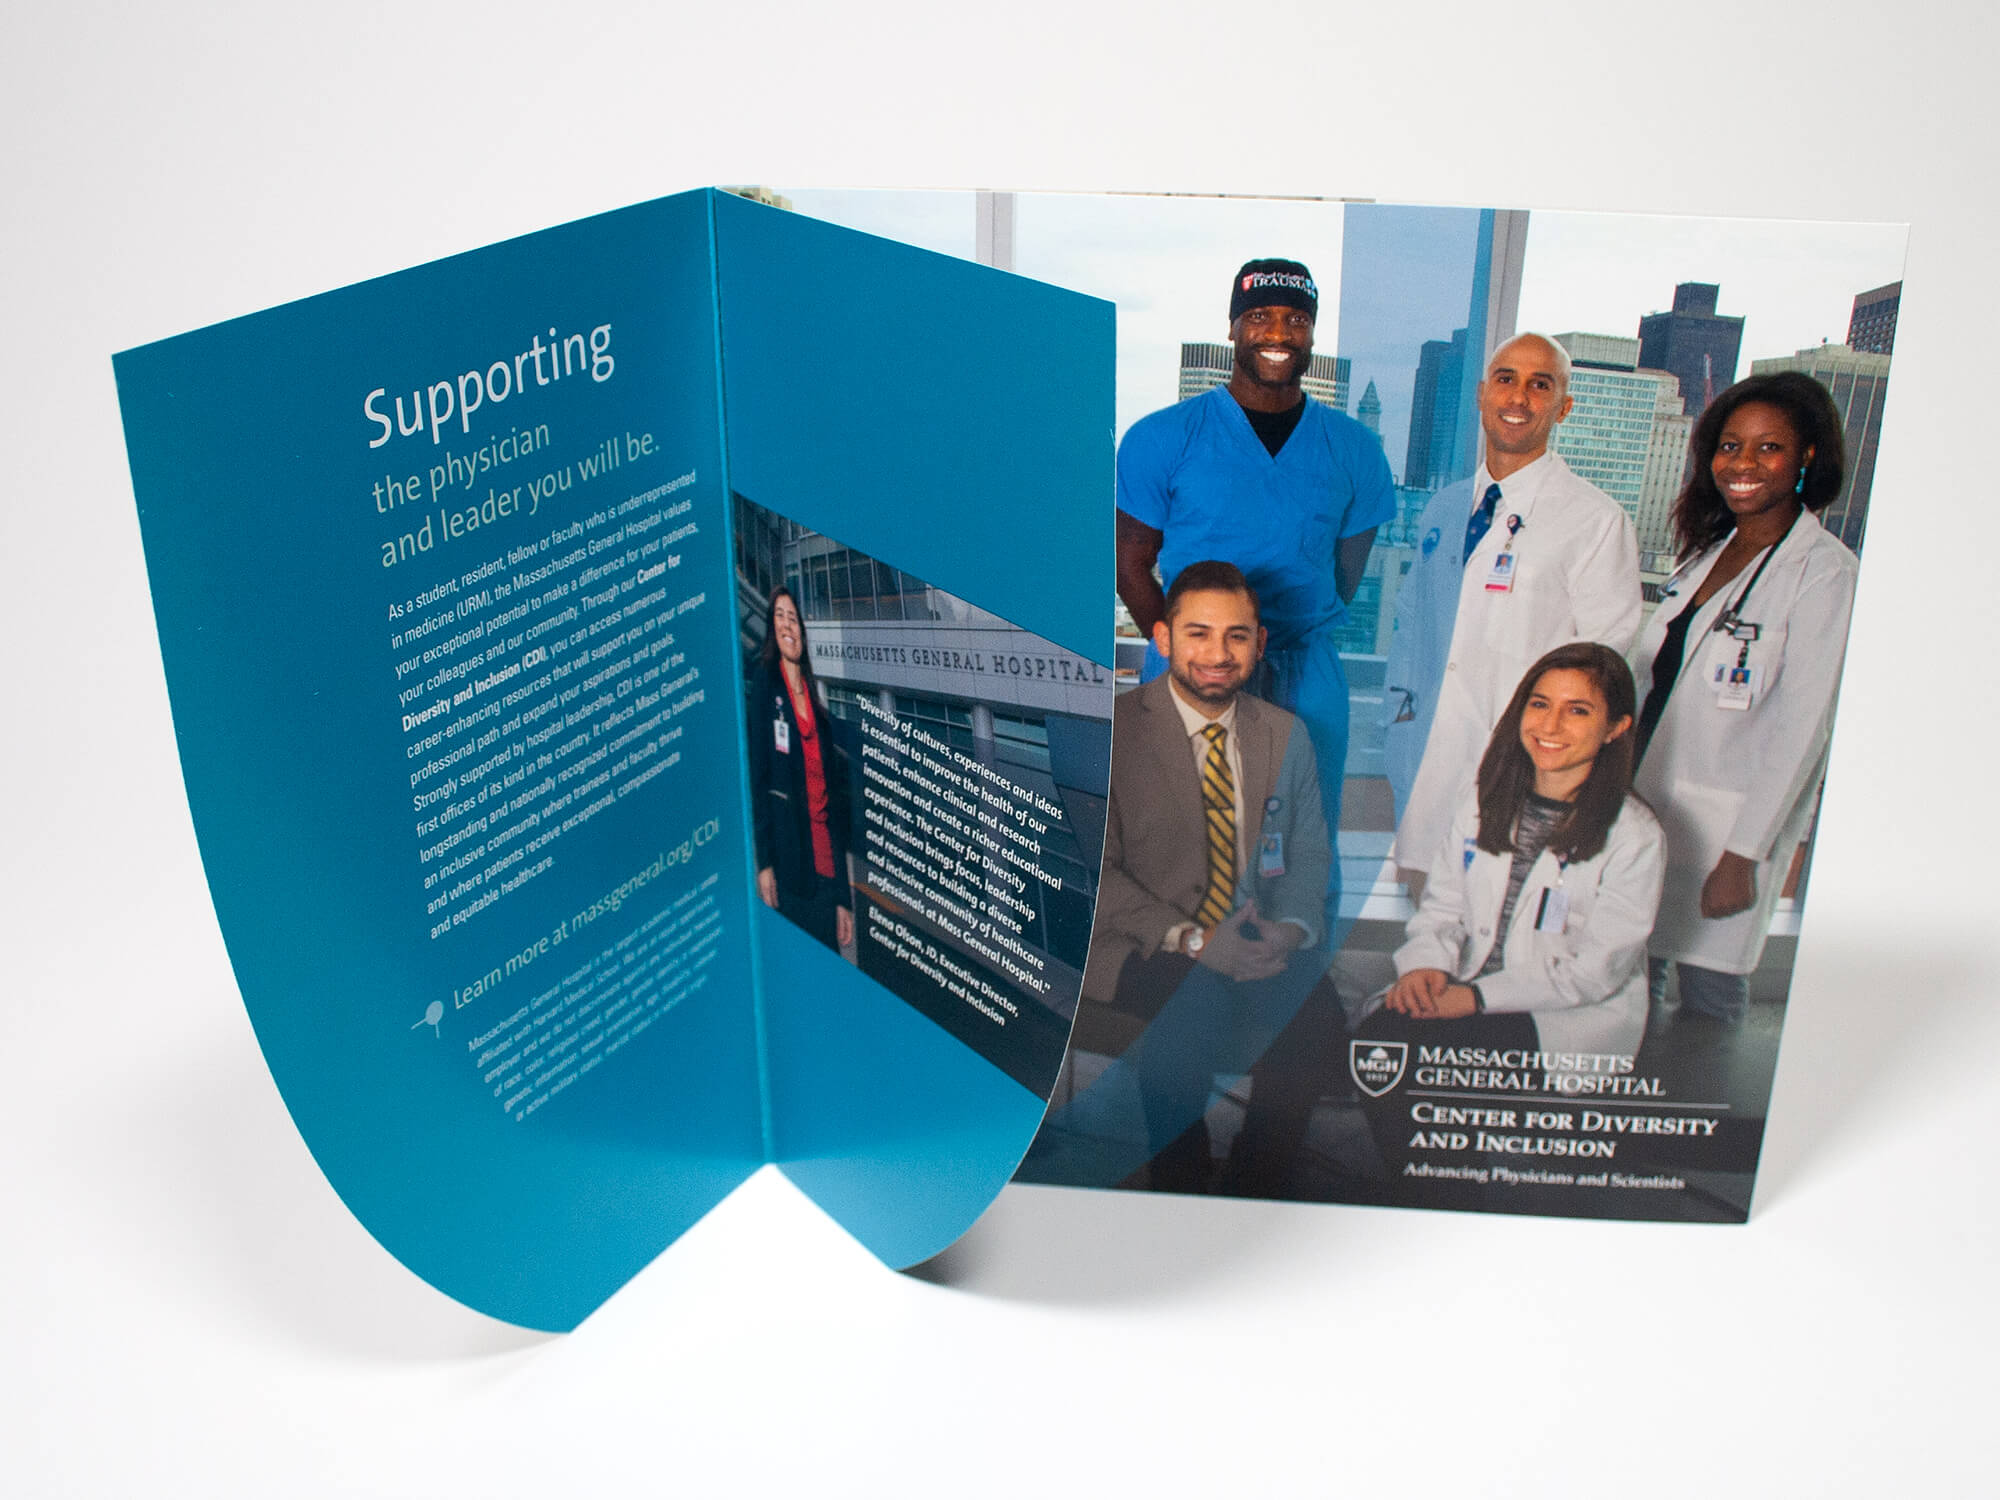
Here’s another one from Massachusetts General Hospital where the curved brochure opening mimics the curve of the shield in their logo design. They also added an opposite curve to the other edge but folded it towards the first panel to create an interesting design moment. It also adds a lot of space for content within the internal spread.
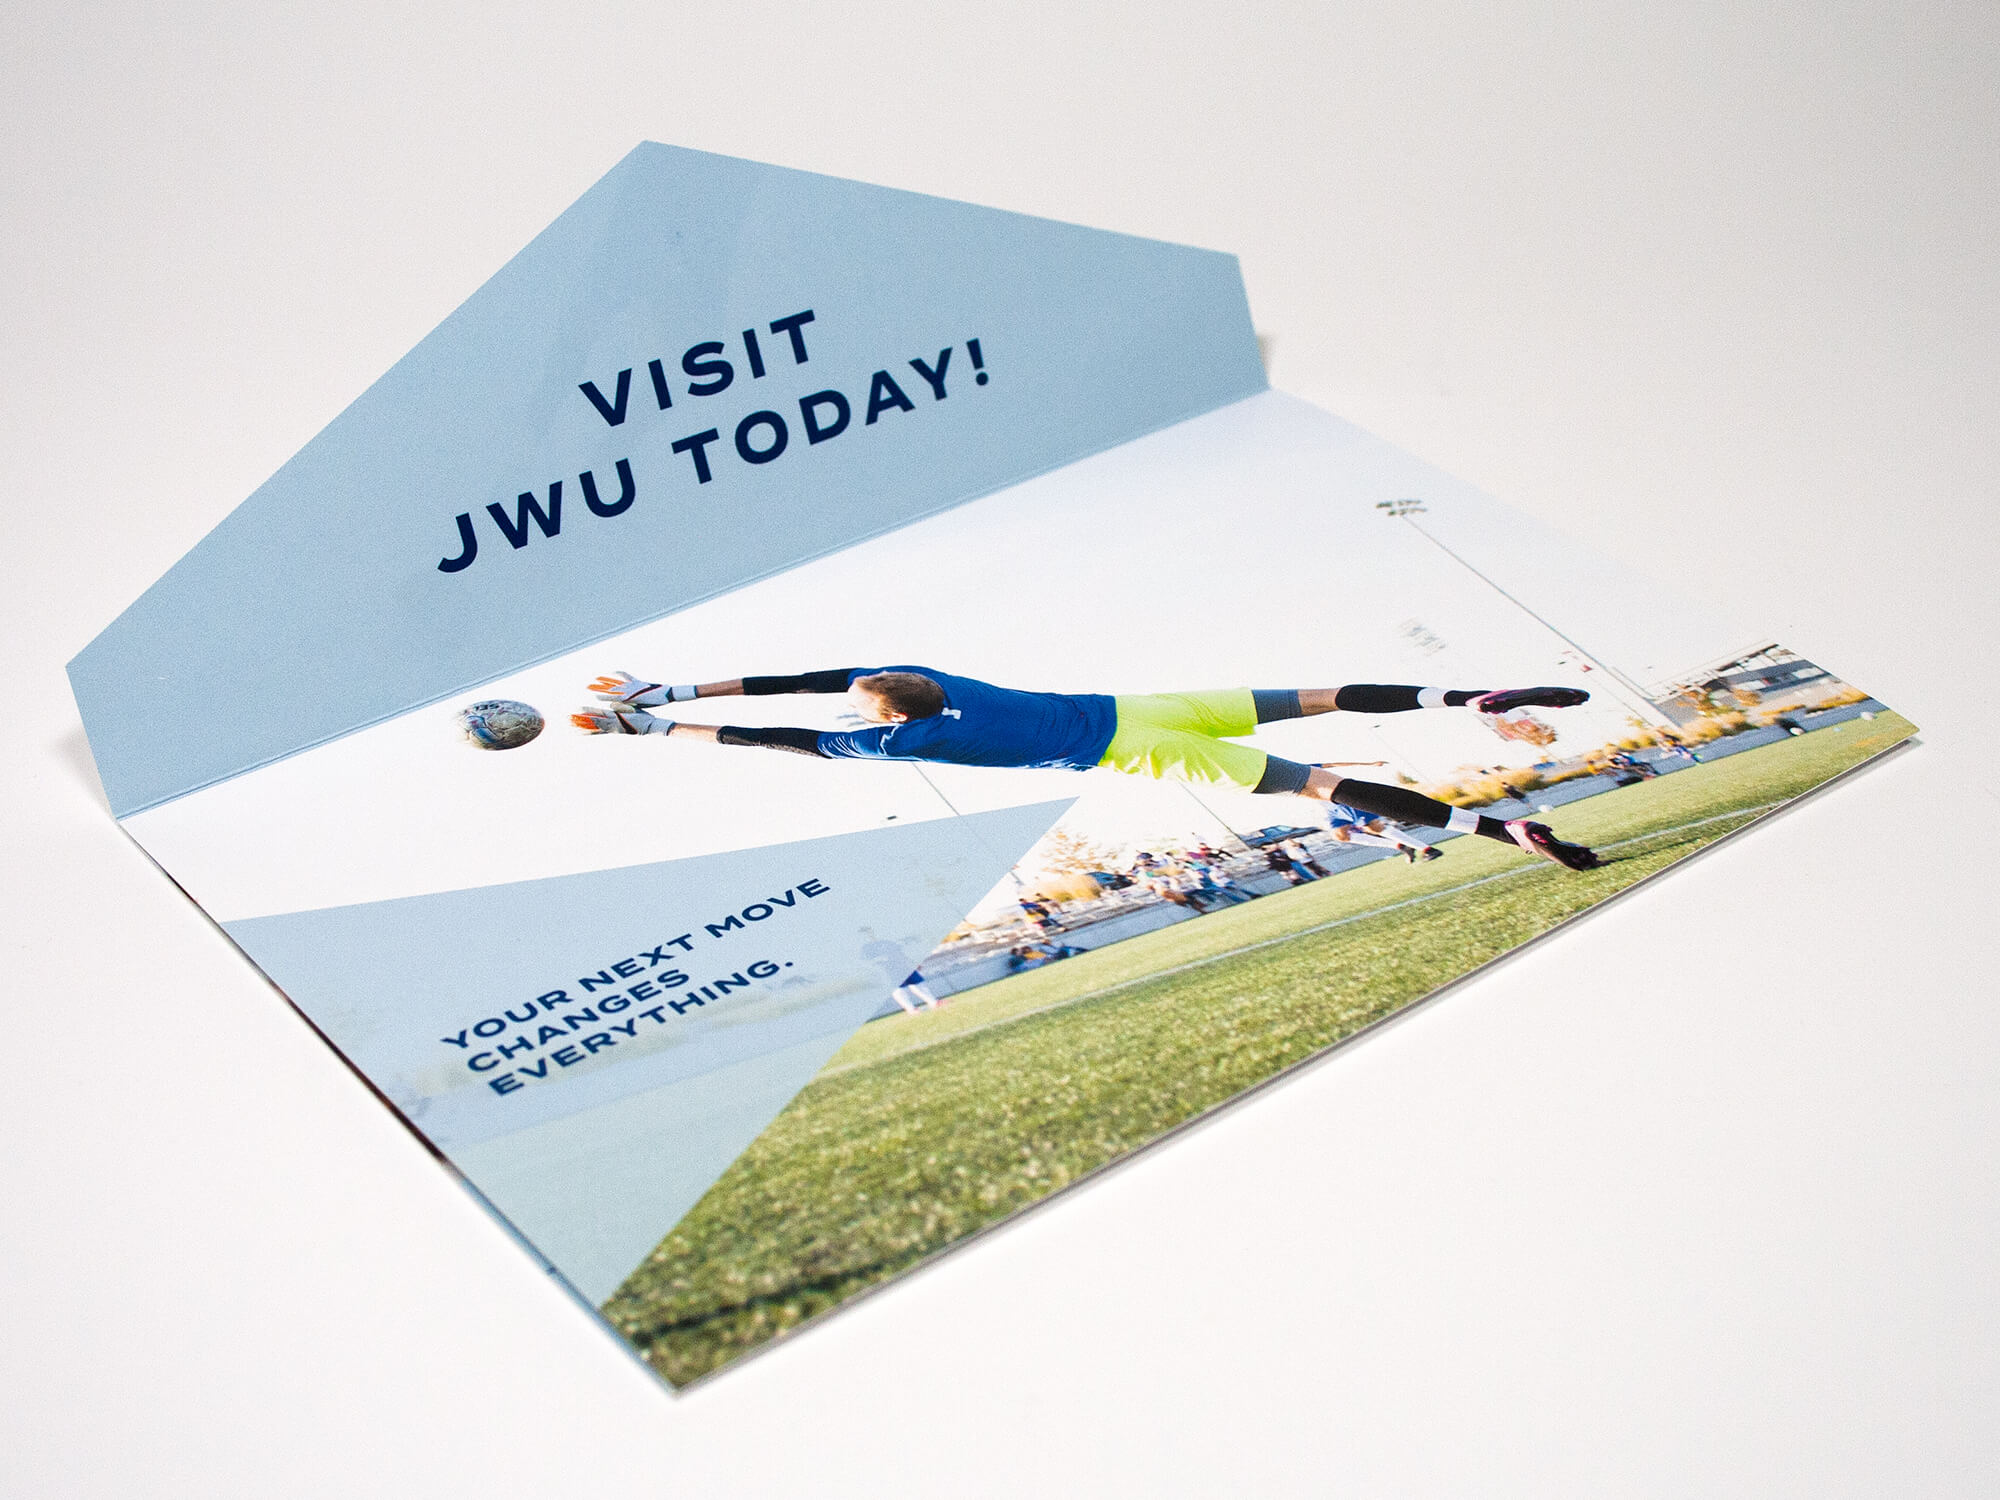
You can also use the edge of a self-mailer in an interesting way to entice recipients to open your piece. Just be sure to follow the USPS guidelines for self-mailers and ensure that the leading edge (the one that will go through postal machines) is properly designed to qualify for automation discounts. In this example from Johnson & Wales University, the outside top edge was die-cut to look like the flap of a baronial envelope and was closed with three spots of fugitive glue.
As you can see, there are many ways to change up the edges of your printed piece by using a die-cut.
Window Die-Cuts
Sometimes adding a die-cut can create an interesting way to reveal additional information. A window envelope is the most basic example, but there are many other ways to achieve the same revealing effect.
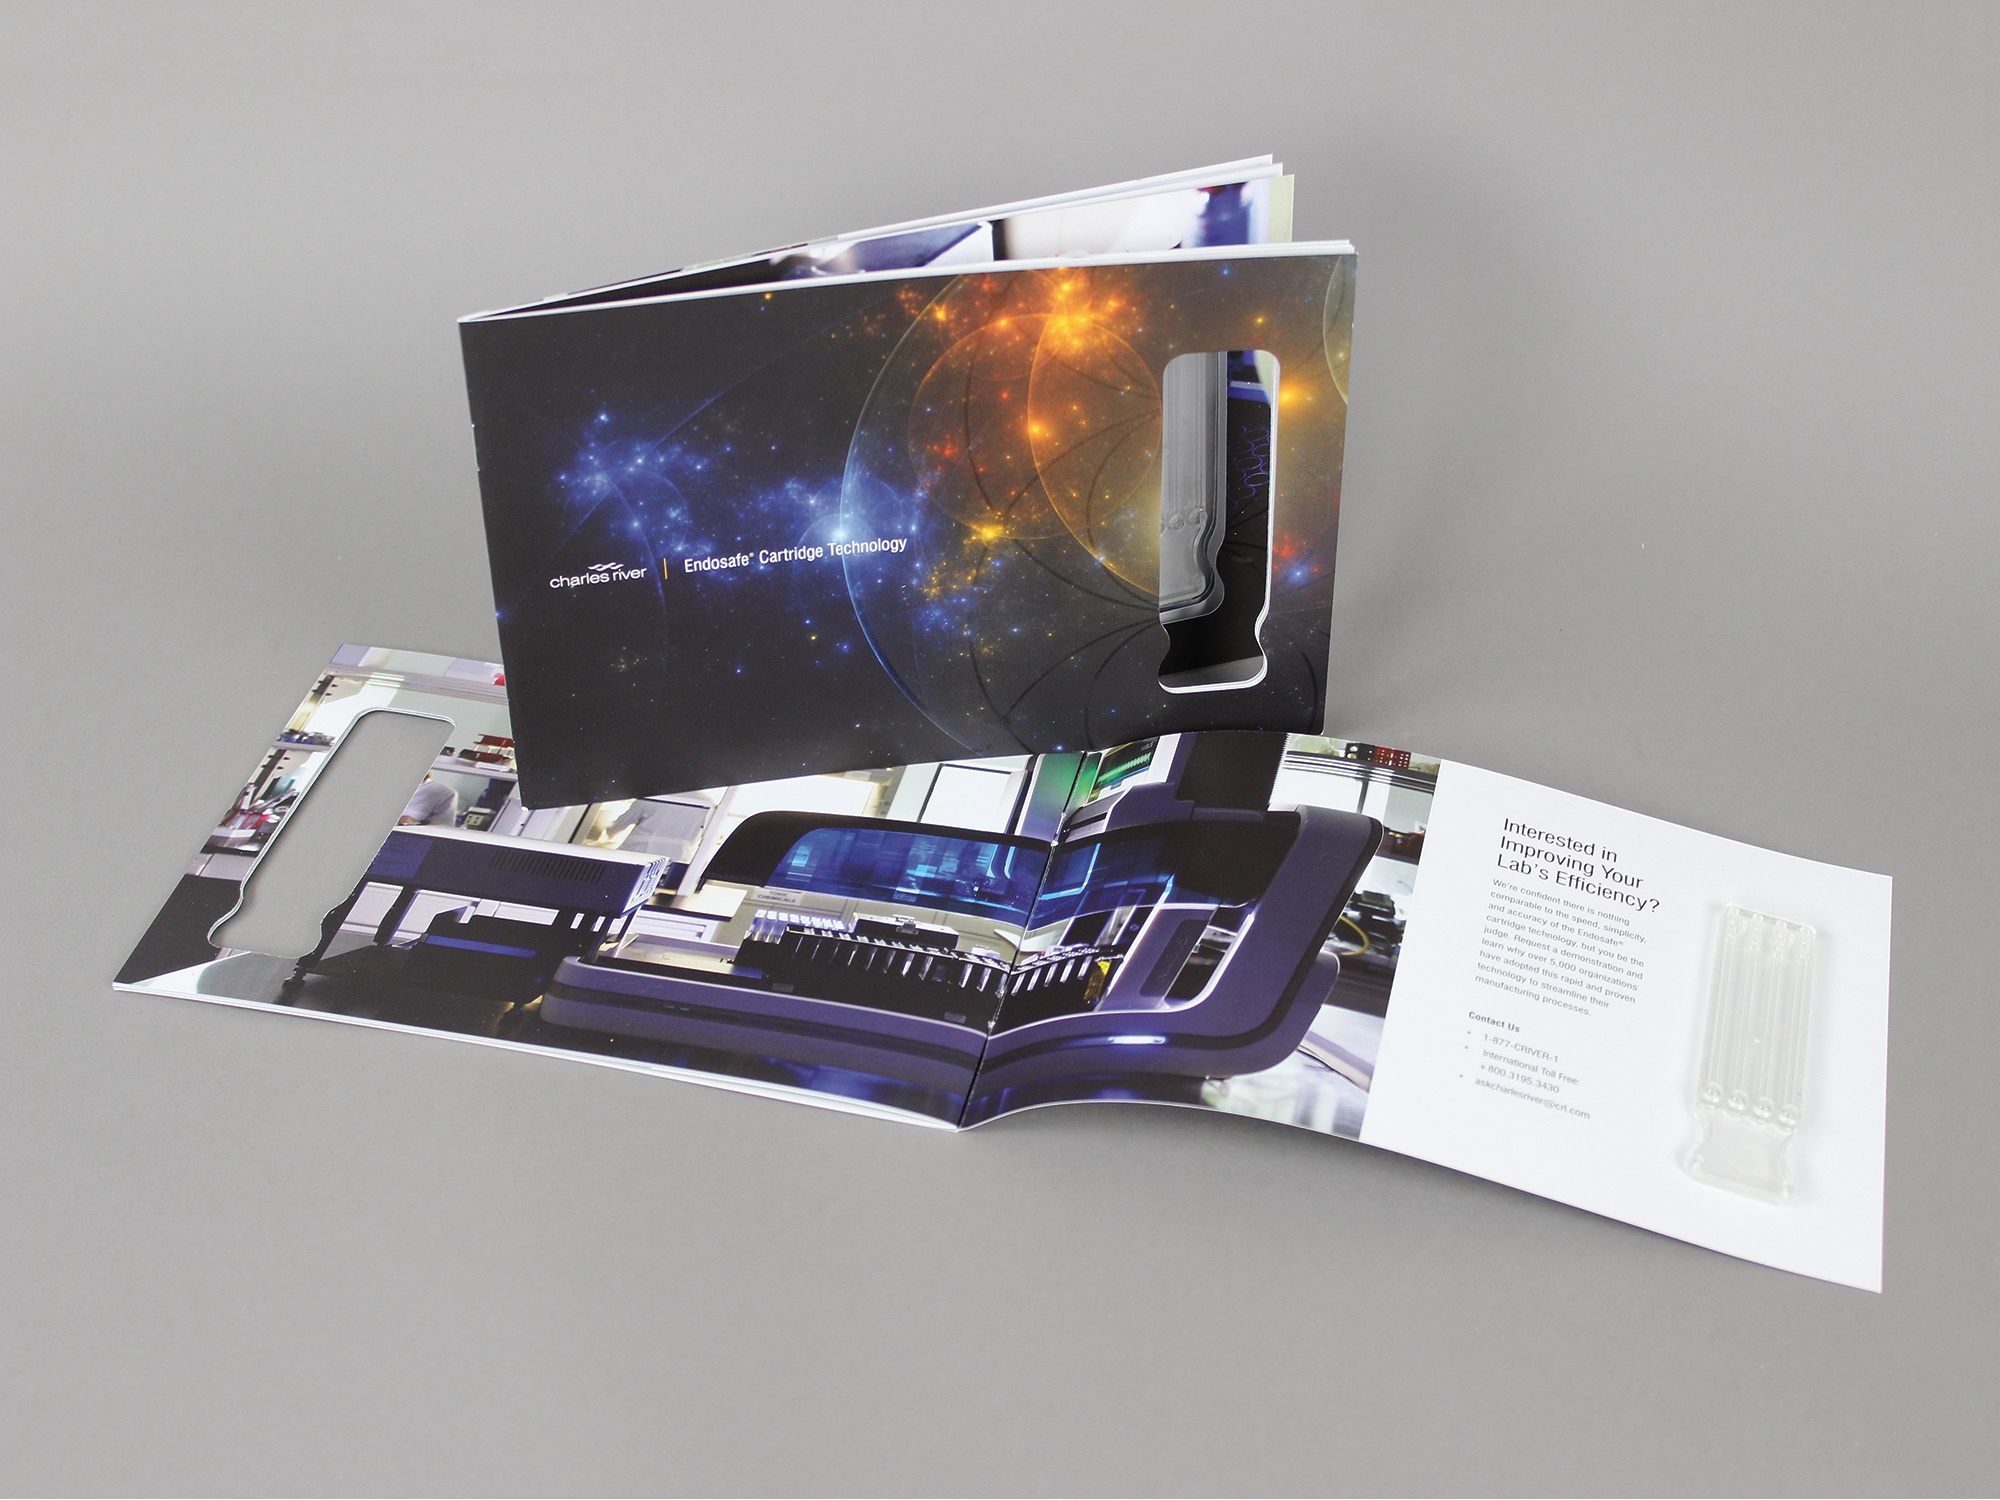
One of our favorite examples is this Endosafe Cartridge Technology Brochure from Charles River Laboratories. The window die-cut is used on every page to show off their actual product sample which was tipped onto the last page. This was a very creative way to highlight the actual product alongside the features and benefits described throughout the brochure.
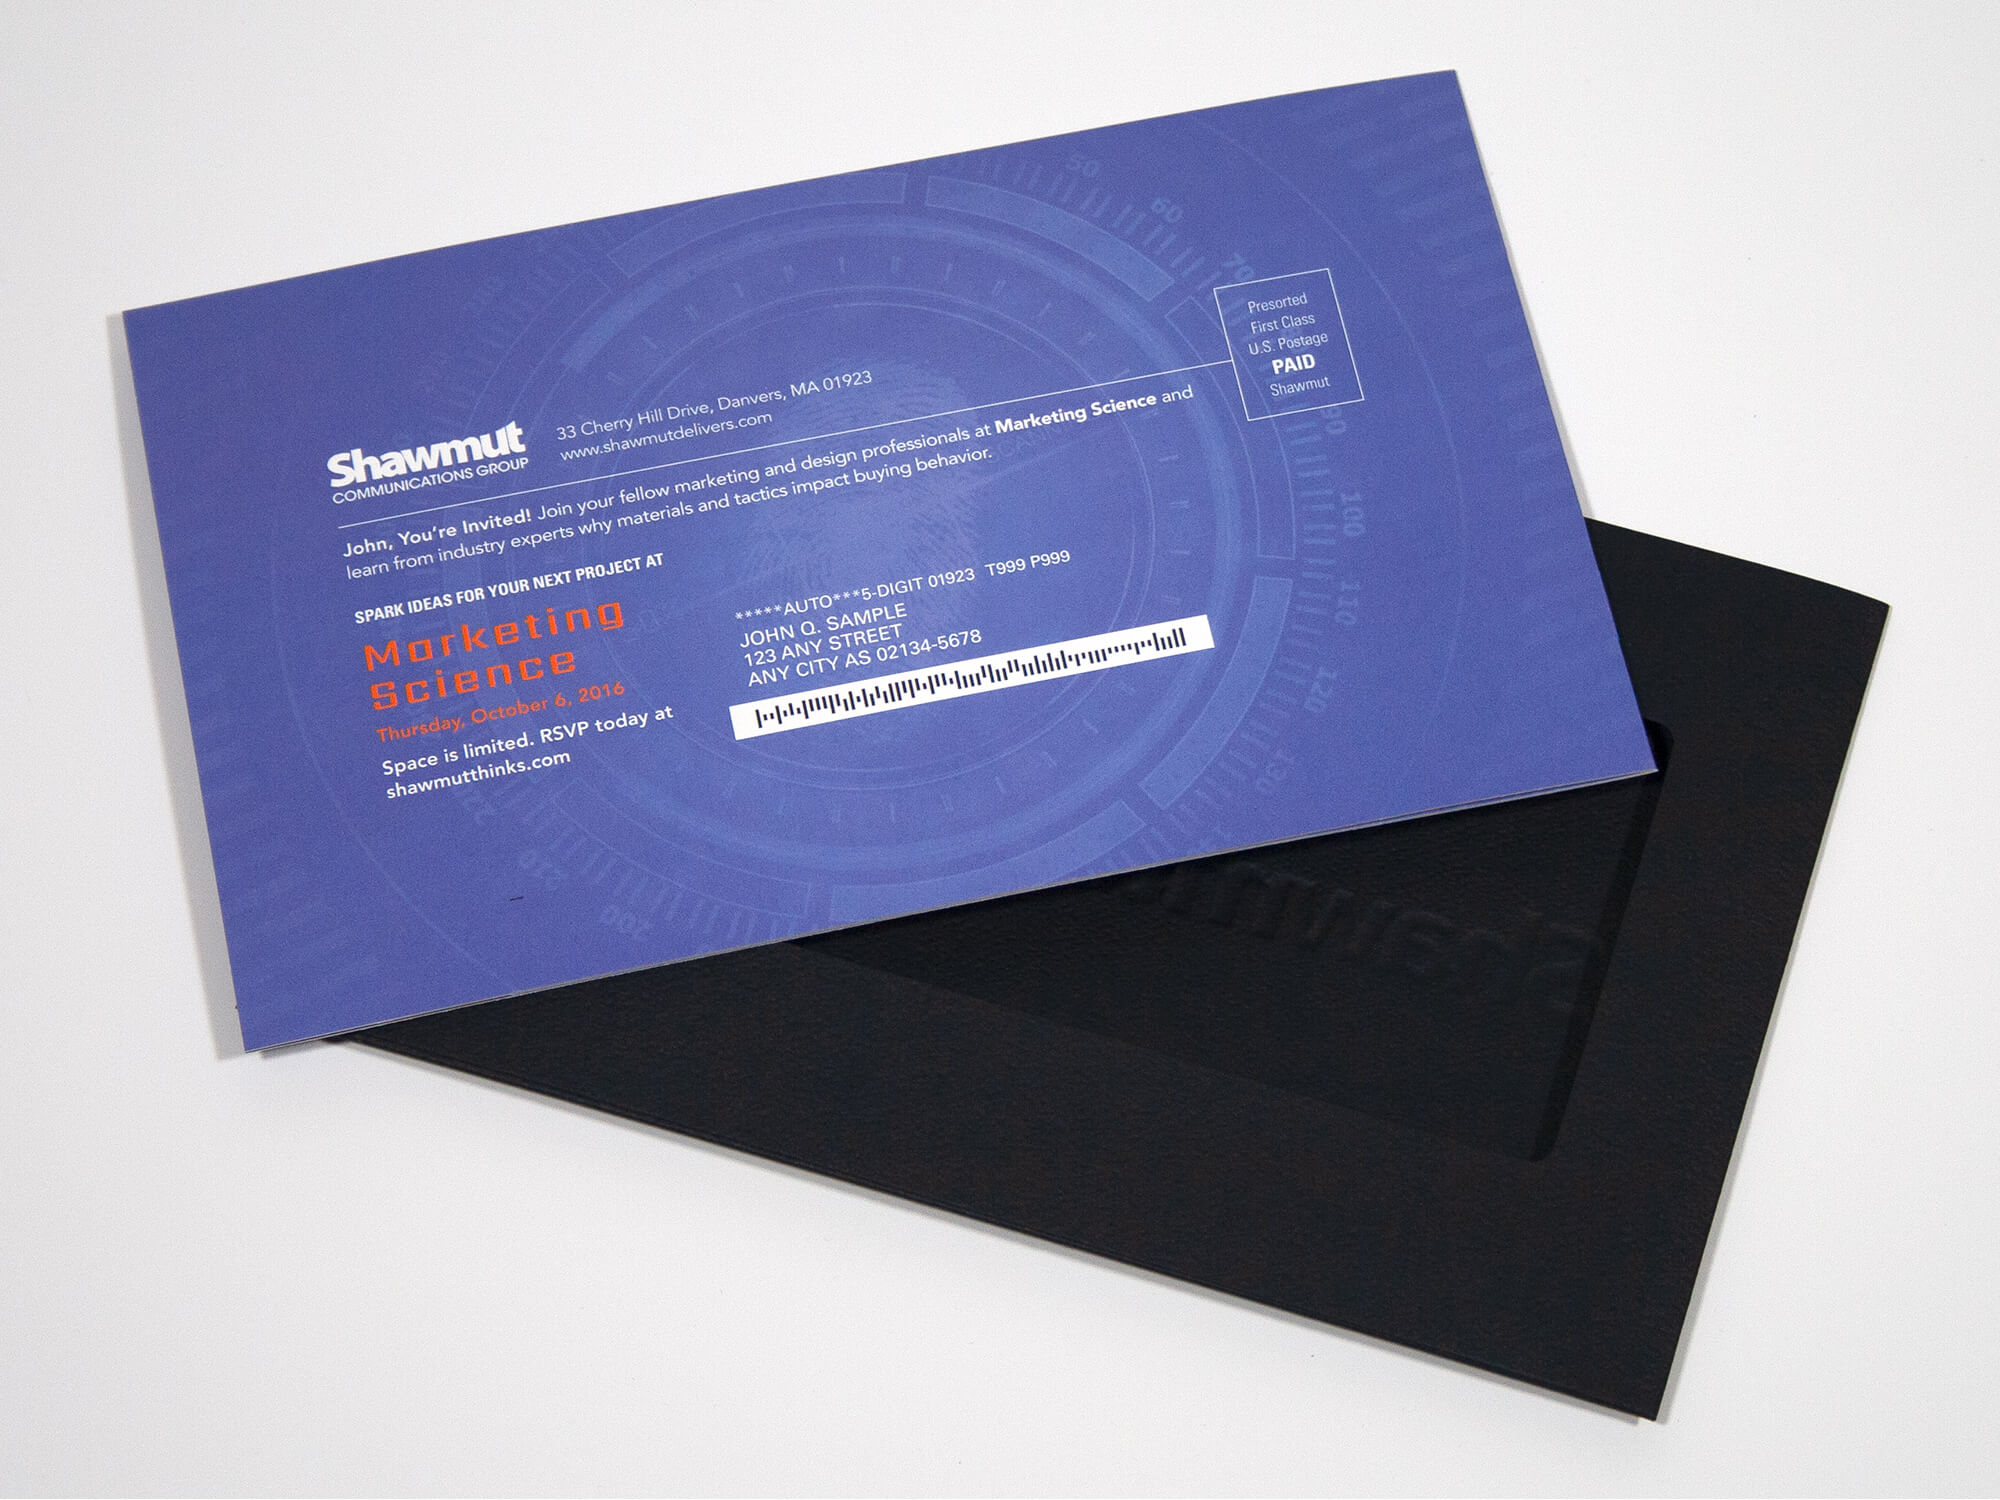
Carrier sleeves are another way to use window die-cuts. In this example from our own Marketing Science event, we die-cut a large window into the back of a black carrier sleeve and added a gold foil stamp. We then inserted a personalized invitation booklet and mailed with a clear envelope using the back cover of the program booklet as the mailing panel.
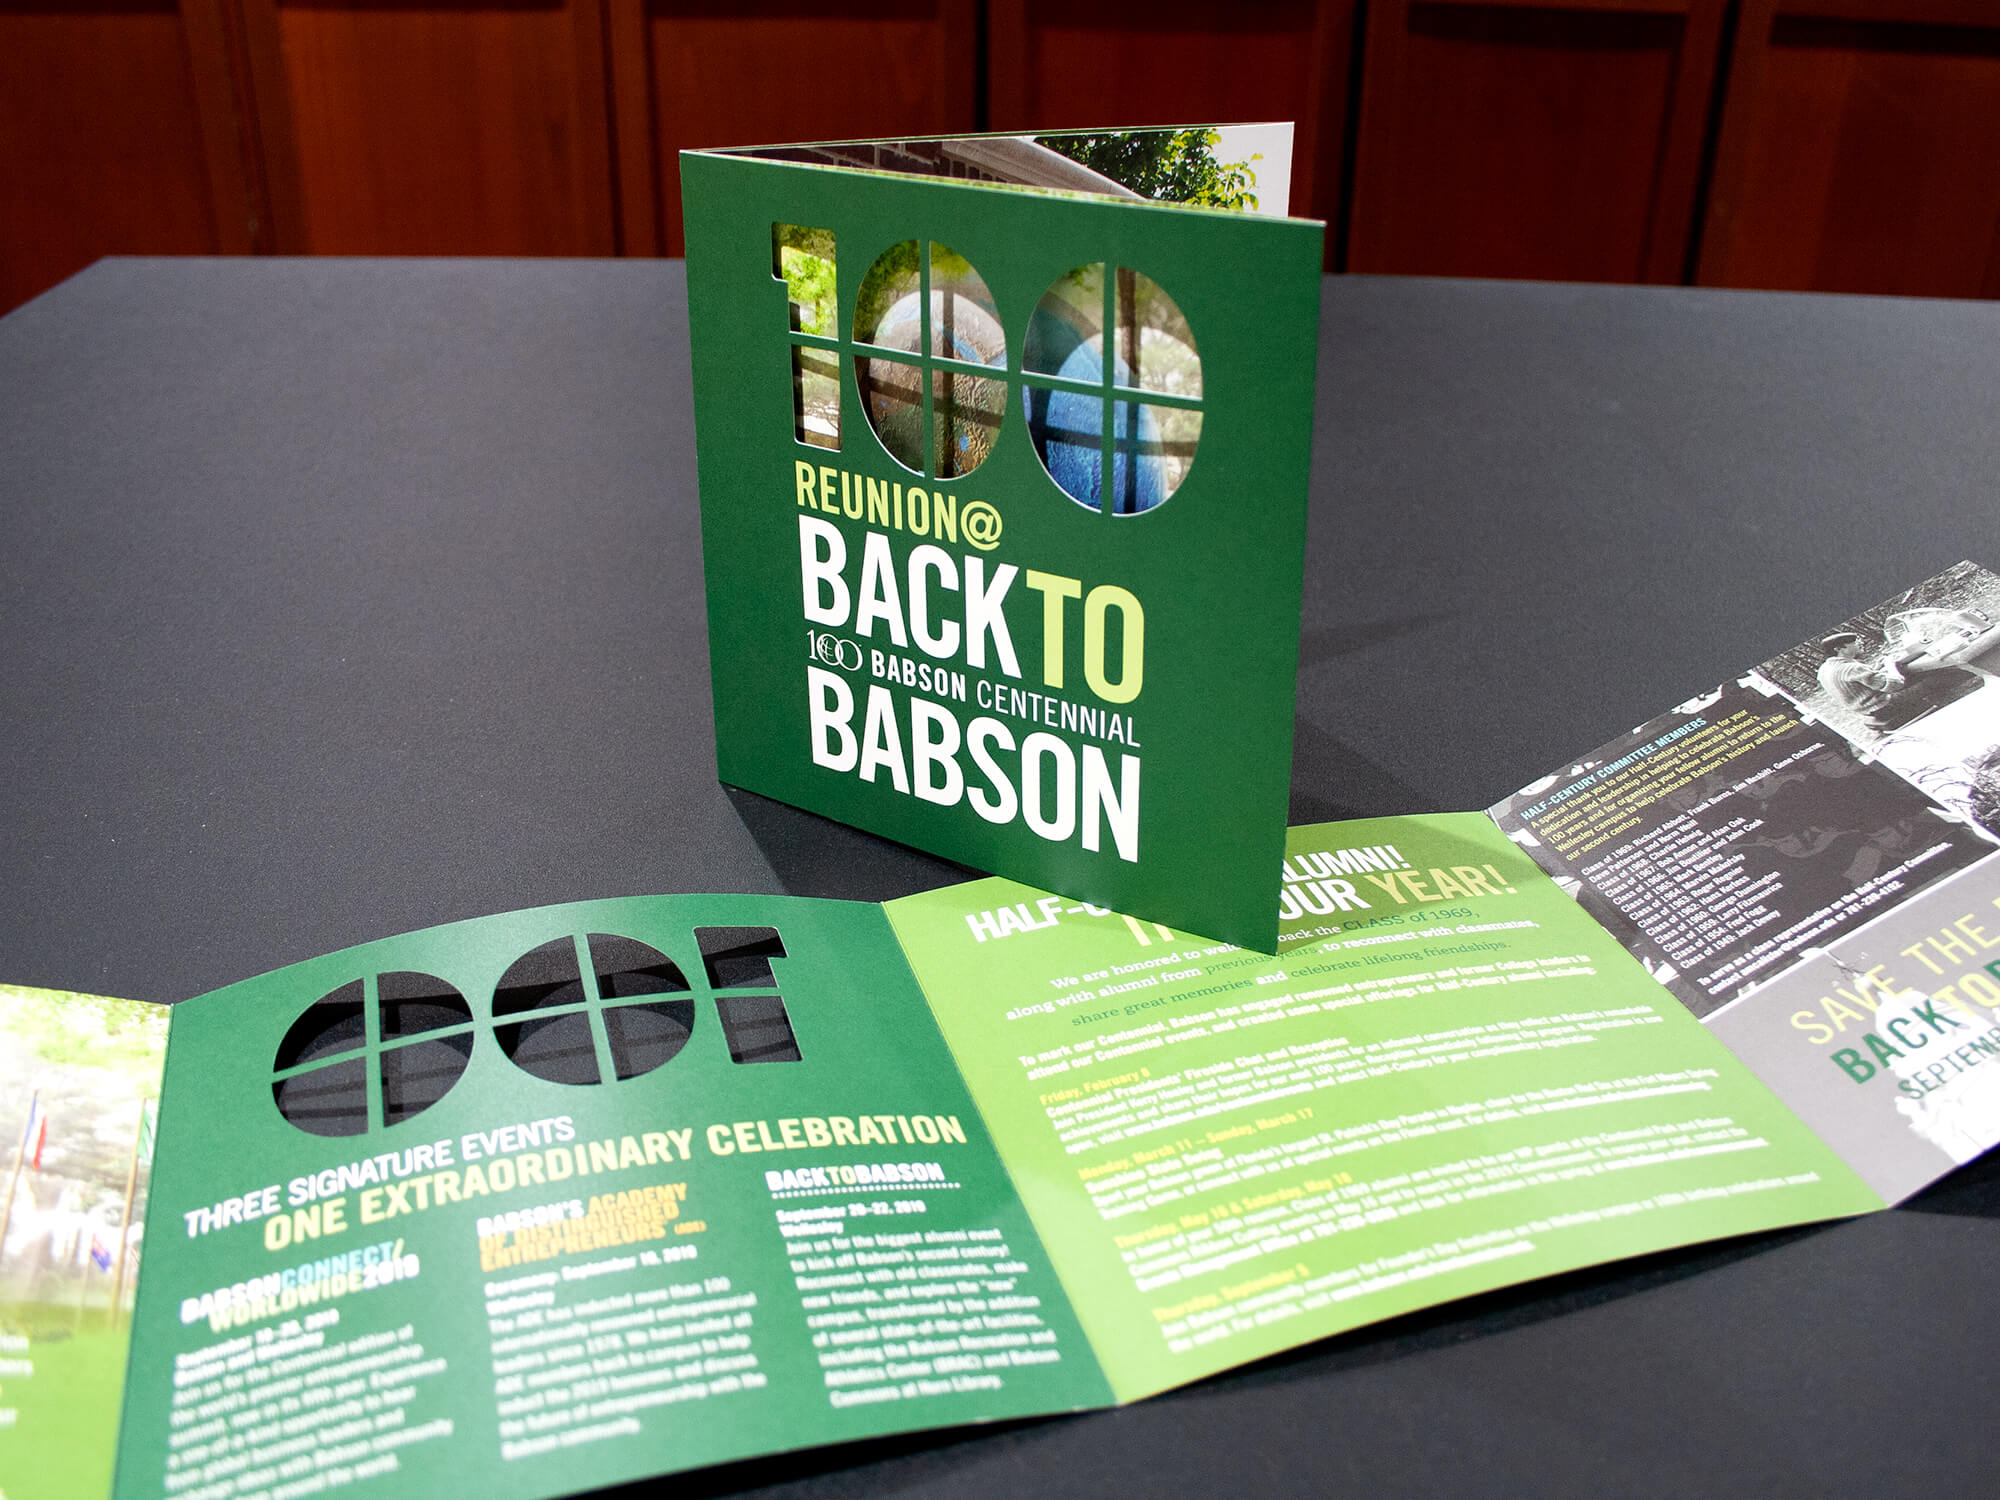
Here’s another example from Babson University where an interesting window die-cut in the shape of the number 100 was used to celebrate the school’s centennial year. Behind the die-cut, recipients can catch a glimpse of the artwork within the brochure which entices them to open it. This three-panel mailer also included a tipped-on save the date magnet and was sent in a clear envelope to show off the unique design.
Short-Cuts and Tabs
In some cases, you can create unique and functional print pieces without going through the process of creating a dieline. In fact, many projects that appear to be die-cut may simply be straight or angled cuts that are placed into the piece in an interesting way. For example, if you’re looking for a way to create sections within a brochure you might consider a booklet with stepped pages. While this product wouldn’t actually be die-cut the varying page widths still create an interesting design effect and simultaneously make it easier for the reader to digest the content.
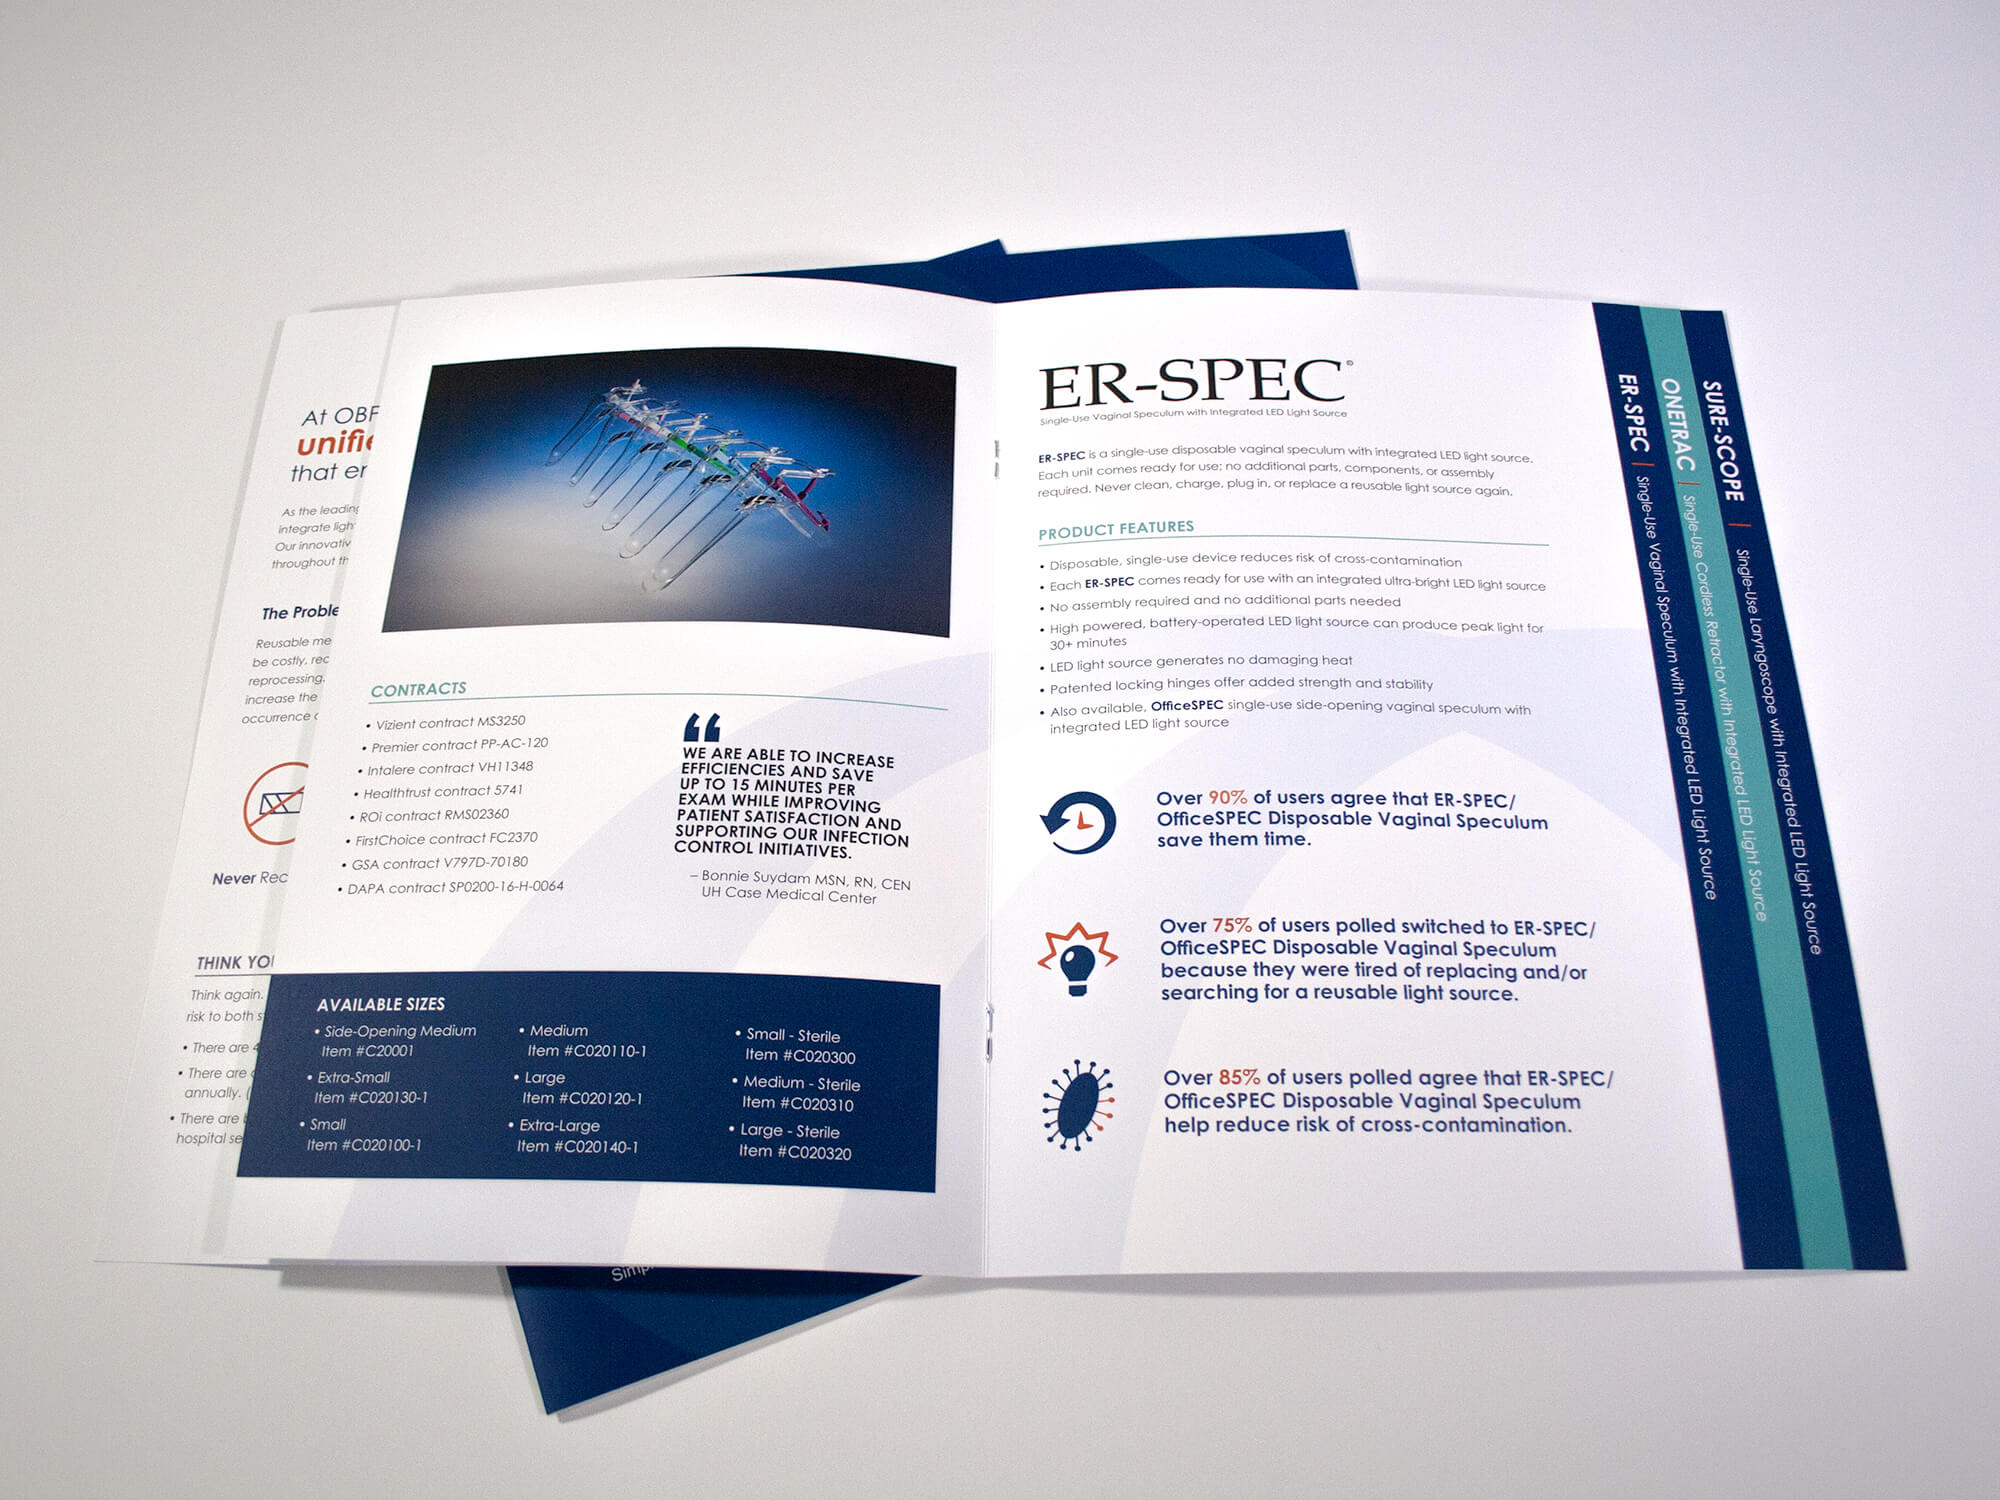
Here’s an example of a product brochure with stepped pages for opb Medical. It offers readers an easy-to-use format with color coding along the vertical edge of each each product page.
The “short-cut” is a low-budget wonder that also won't require a dieline or die-cutting. It’s a quick and cost-effective way to change up a trifold brochure or another print piece with panels.
Die-cutting is one of the most versatile print production techniques. Although many die-cuts are based on creating unique shapes, some are born out of function and necessity like pockets or business card slits. In other cases, like the ones shown here, die-cuts are used to create interesting design moments or ways to reveal and organize information.